Caulking is a crucial home maintenance task that often goes unnoticed but plays a vital role in preserving the integrity of your bathroom. When it comes to your bathtub, proper caulking not only enhances its appearance but also prevents water damage, mold, and mildew growth. In this blog post, we will explore the importance of caulking, discuss the materials and tools you’ll need, and provide a step-by-step guide to help you caulk your bathtub like a pro.
- The Importance of Caulking:
Caulking serves multiple purposes in the bathroom, especially around the bathtub It:
a. Prevents Water Damage: Properly sealed caulking creates a watertight barrier that prevents water from seeping into the gaps between the bathtub and the surrounding tiles or walls. This helps prevent water damage, including rot, decay, and the growth of mold and mildew.
b. Enhances Aesthetics: Caulking gives your bathtub a clean and finished look by hiding the gaps and seams between different surfaces. It helps create a cohesive and polished appearance, contributing to the overall aesthetic appeal of your bathroom.
c. Improves Hygiene: By sealing gaps and cracks, caulking makes it easier to clean and maintain your bathtub. It prevents dirt, grime, and soap scum from accumulating in hard-to-reach areas, making the cleaning process more efficient and hygienic.
- Materials and Tools You’ll Need:
To tackle your bathtub caulking project, gather the following materials and tools:
- Caulk: Choose a high-quality silicone or latex caulk specifically formulated for bathroom use. Opt for a mildew-resistant and waterproof caulk that matches the color of your bathtub or tiles.
- Caulking Gun: A caulking gun is essential for dispensing the caulk smoothly and evenly. Look for a sturdy, easy-to-use caulking gun that fits comfortably in your hand.
- Utility Knife or Caulk Removal Tool: If you’re replacing old caulk, a utility knife or a specialized caulk removal tool will help you remove the existing caulk effectively.
- Surface Cleaner: Clean the area around the bathtub thoroughly before applying the new caulk. Use a surface cleaner or mild detergent to remove any dirt, soap residue, or old caulk.
- Masking Tape: Masking tape can come in handy to create clean, straight lines and protect adjacent surfaces from excess caulk.
- Gloves and Safety Gear: Wear gloves to protect your hands from the caulk and any cleaning agents. Additionally, consider wearing safety glasses for added protection.
Step-by-Step Guide to Caulking Your Bathtub:
Follow these steps to caulk your bathtub effectively:
Step 1: Prepare the Surface:
- Ensure the bathtub surface is clean and dry.
- Use a surface cleaner or mild detergent to remove any residue or debris.
- Let it dry completely before proceeding.
Step 2: Remove Old Caulk (If Applicable):
- If you have existing caulk, use a utility knife or caulk removal tool to carefully scrape it away.
- Clean the area thoroughly to remove any remaining caulk and residue.
Step 3: Load the Caulk Tube:
- Load the caulk tube into the caulking gun, ensuring it is secure.
- Cut the tip of the caulk tube at a 45-degree angle, with a size that matches the width of the gap you’ll be filling.
Step 4: Apply the Caulk:

- Hold the caulking gun at a 45-degree angle and apply consistent pressure on the trigger to dispense the caulk.
- Move the gun steadily along the gap, filling it with a smooth, continuous bead of caulk.
- Ensure the caulk adheres to both surfaces, forming a strong seal.
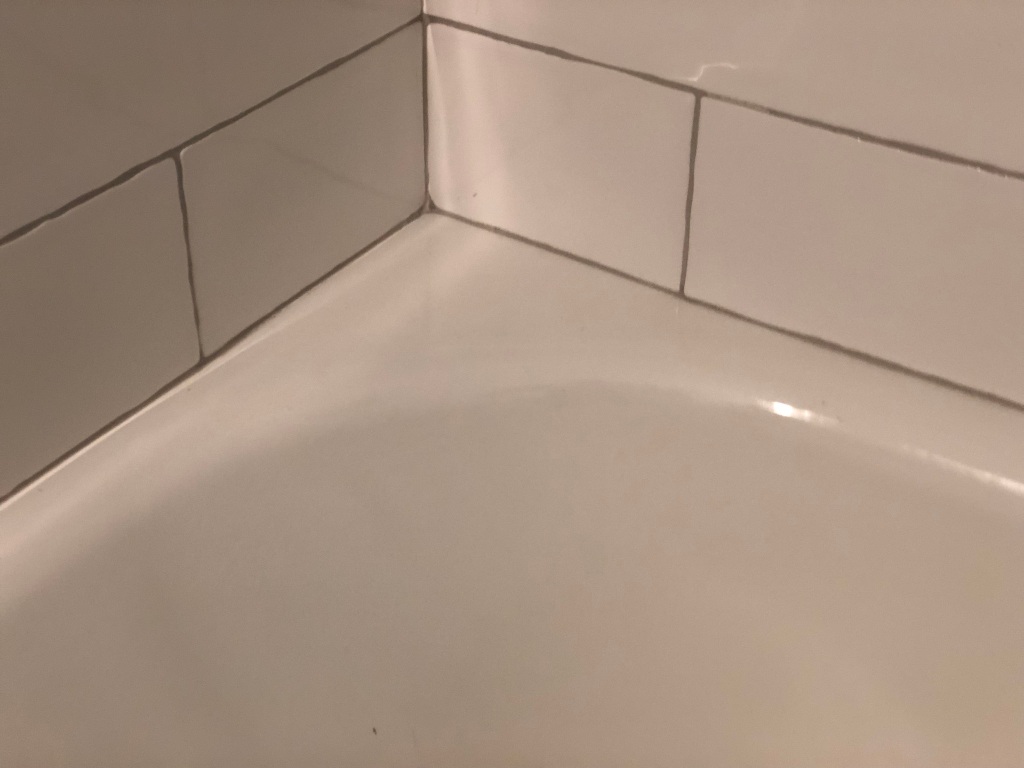
Step 5: Smooth the Caulk:
- Wet your finger or a caulk smoothing tool with water or a mild soapy solution.
- Gently run your finger or the smoothing tool along the caulk line to smooth and shape it.
- Remove any excess caulk and wipe away any smudges with a damp cloth.
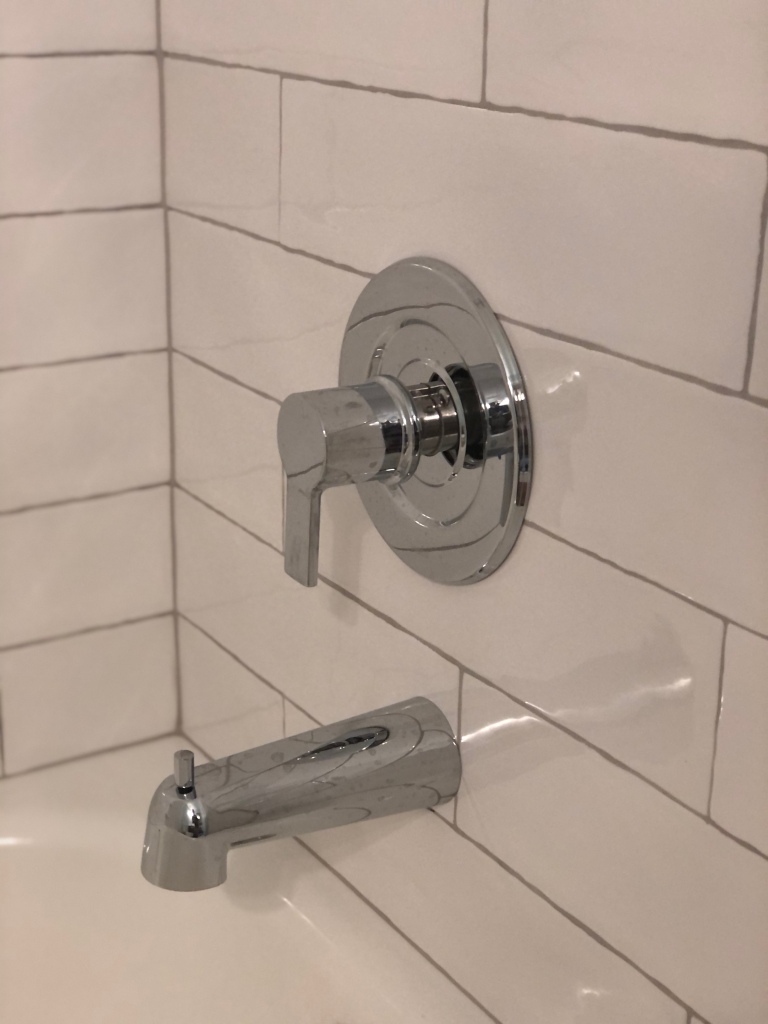
How to caulk a bathtub
Step 6: Let it Dry:
- Allow the caulk to dry according to the manufacturer’s instructions.
- Avoid using the bathtub or exposing the caulk to water until it is fully cured.
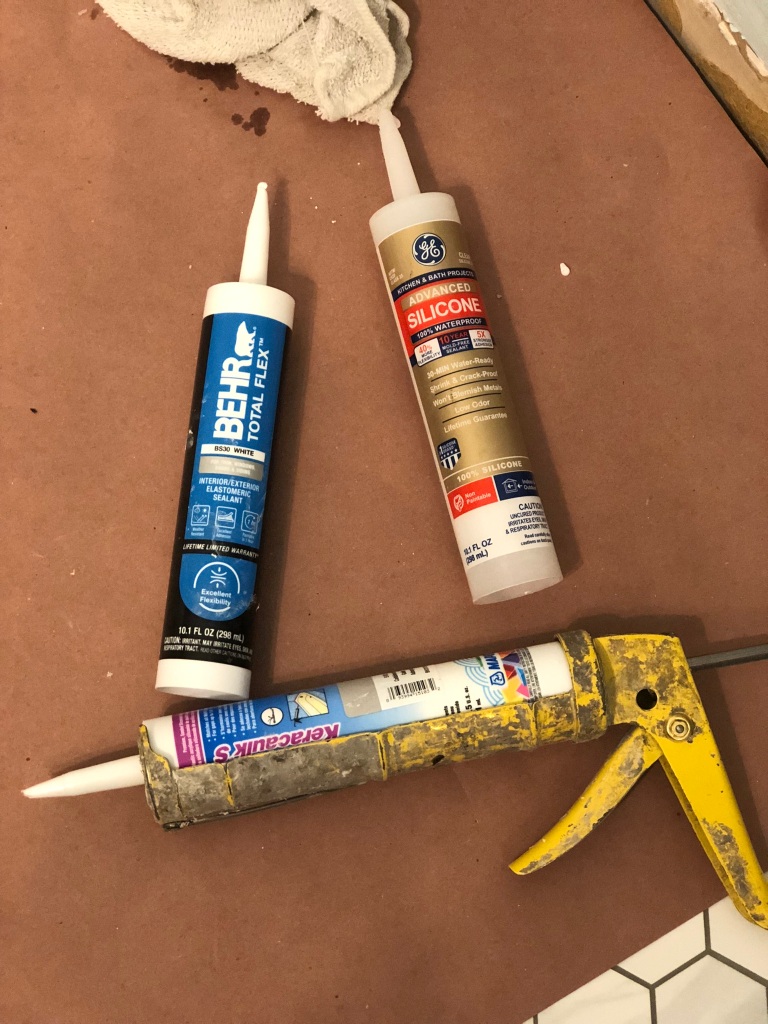
Caulking products we use:
Behr Caulk
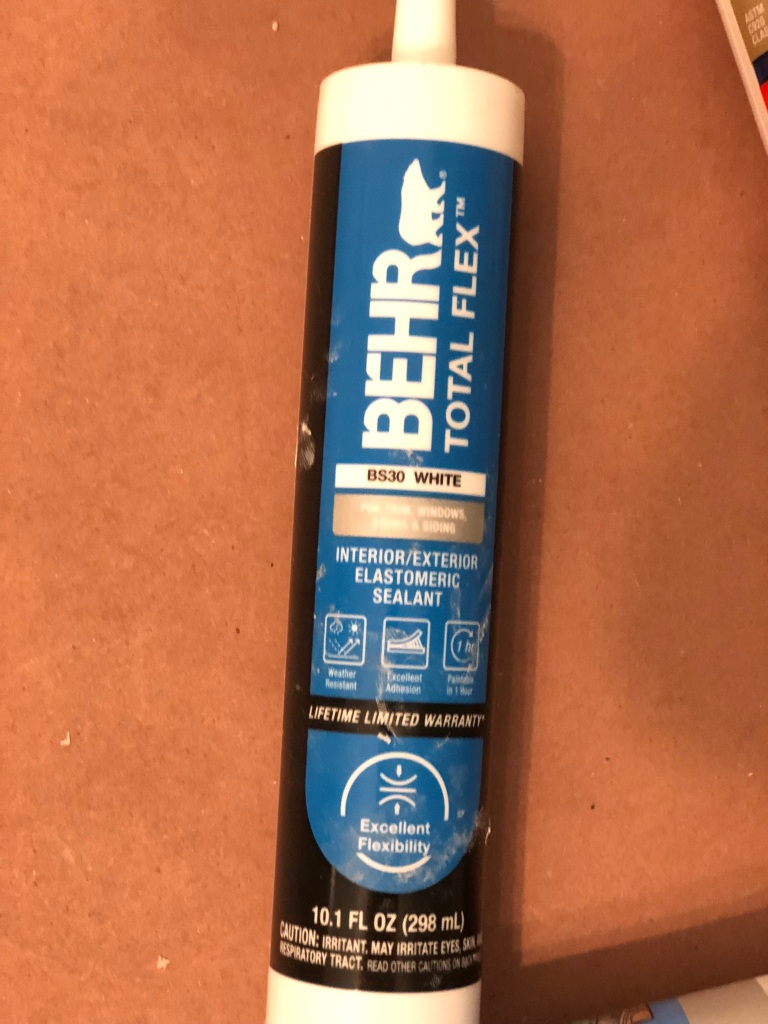
Durability: Behr is known for producing quality products, and their caulk may be formulated to offer durability and long-lasting performance. This can be important for applications that require the caulk to withstand exposure to the elements, temperature changes, and general wear and tear.- Adhesion: Behr caulk may be formulated to adhere well to different surfaces, such as wood, drywall, concrete, and metal. Strong adhesion ensures that the caulk stays in place and effectively seals the gaps or cracks.
- Paintability: Some caulk products can be painted over once they have cured. If Behr caulk is designed to be paintable, it can be beneficial when you want to achieve a seamless finish by matching the caulk color with the surrounding surface or painting over it to blend in.
- Ease of Use: Behr caulk may come in user-friendly packaging, with applicators that make it easy to apply and smooth out. This can be particularly advantageous for DIY enthusiasts or professionals who want to achieve clean and professional-looking results.
It’s always a good idea to check the product descriptions, customer reviews, and specifications of specific Behr caulk products to understand their unique features, suitability for your intended application, and any additional benefits they may offer.
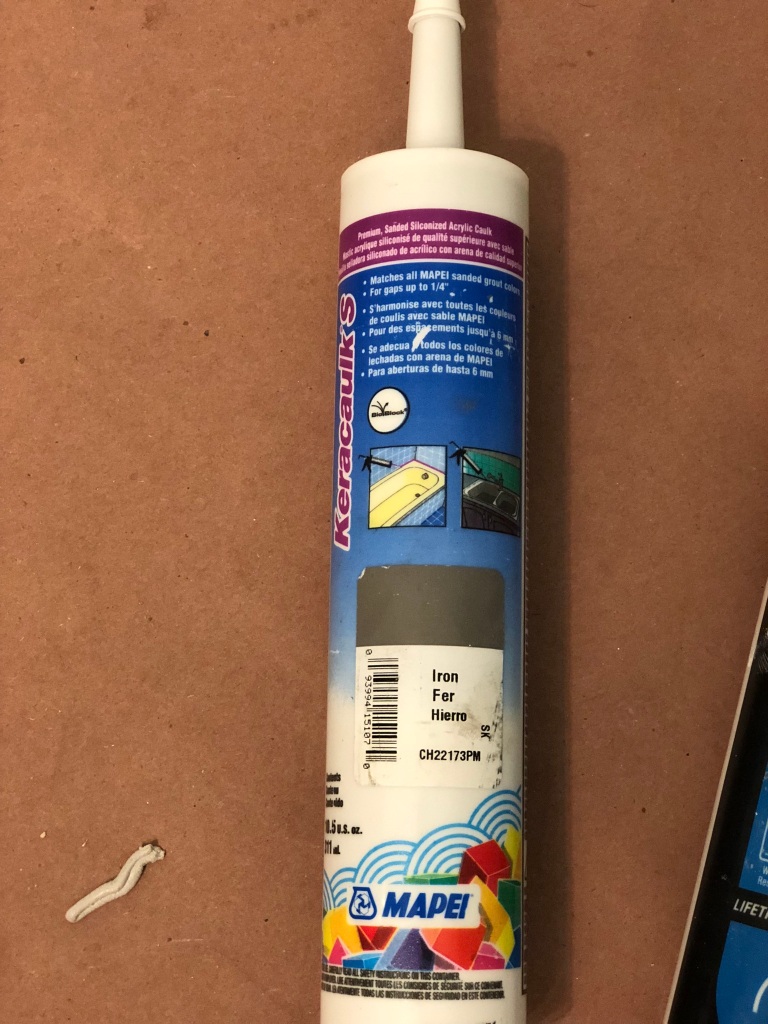
MAPEI Caulk

Mapei is another reputable brand that offers a variety of caulking products.
- Quality and Reliability: Mapei is known for producing high-quality products, and their caulk is likely to meet industry standards. Using Mapei caulk can provide confidence in its reliability and performance.
- Versatility: Mapei caulk products may be suitable for various applications and surfaces, such as caulking a bathtub, caulking a shower, tile joints, and even sealing gaps in windows and doors. The versatility of Mapei caulk can make it a convenient choice for different projects.
- Excellent Adhesion: Mapei caulk is likely formulated to provide strong adhesion to a wide range of materials, including concrete, stone, ceramic, and wood. This strong bond helps ensure a durable and long-lasting seal.
- Waterproofing: Many Mapei caulks are designed to be water-resistant or waterproof. This makes them suitable for sealing joints and gaps in areas exposed to moisture, such as bathrooms, kitchens, and exterior surfaces.
- Easy Application: Mapei caulk products may feature user-friendly application methods, such as squeeze tubes or cartridges that can be used with caulking guns. Easy application can help achieve precise and efficient caulking.
- Color Options: Mapei caulk may offer a variety of color choices, allowing you to select a caulk that matches or complements your existing surfaces. This can help achieve a seamless and aesthetically pleasing finish.
As with any specific product, it’s important to review the product descriptions, specifications, and customer reviews to ensure that a particular Mapei caulk product aligns with your specific project requirements and provides the desired benefits.
Caulking your bathtub is a simple yet essential home improvement task that protects against water damage, enhances aesthetics, and improves hygiene. By following the step-by-step guide outlined in this blog post, you can confidently caulk your bathtub, ensuring a watertight seal and a visually pleasing result. Remember to choose the right caulk, prepare the surface properly, and take your time to achieve a clean and professional-looking finish. Enjoy the benefits of a well-sealed bathtub that will stand the test of time.
